Wednesday, May 22, 2013

Tea sets - no 2 and 3


2nd set
This is my 2nd set of tea sets that I bought. It consists of a pot, sugar and creamer jar, 11 sets of cup and saucer. I bought it in the flea market last month at 2.50 euro. YES IT'S 2.50 euro. I can't believe it. I thought my french is so lousy that I get my friend to ask again. I didn't even check if they are broken or missing items. It's still worth it even they are not complete set. I think it is a good buy not only because it is cheap but also the shape and color. 

3rd set


This is the 3rd set I bought last weekend.   This is not a complete set as it have more saucers than the cups. It's ok I don't really mind. This set has bigger cup size than the previous 2 sets I had, and the flower print on the front and  back of the cups are different. 

I was not in the rush of buying when I saw her. Cos i do not having enough shelving at home, therefore i need to consider. The french granny ask for 5 euro, so I take my time to walk around before going back to her to see if it is still there and also ask for discount. Yes, it is there so she is going back home with me then. Final deal is 4 euro. 

Tuesday, April 09, 2013

Second hand toys in flea markets


I started to fall in love with second hand stuff when I came to France. During spring, there are countless of flea markets around. People rent a small space and sell their unwanted items at cheap price.

I get to know from my french friend that the French hardly throw away items that can still be used. Either they sell it at the flea markets or at the second hand shops. I think this is great idea, they are recycling old items.

Some items are really old but I think they are gems. I bought a Snow White music box last month. The color is fading but it is still in good condition. And if I want to get a brand new one, I doubt I can ever find. That's why I love to buy second hand items now, cos it is no longer available in the market.

Gems in the trash....


Radish Soup

This is real easy... Just 3 ingredients... White radish, carrot and pork ribs.

Radish is not a everyday veg in the supermarket here, therefore I will stock up when I see it on the shelve.

I am using Tefal WiKook to cook soup nowadays as it helps to speed up the cooking time and retend the nutrition. The best part is the water will not evaporate off and I do not need to keep refilling with water.

One more advantage with using Tefal WiKook, is that the taste is so strong that I do not need to add salt.

Ingredients
1 large white radish
2 carrots
5pc of pork ribs
1L of water

Method
1. Blanch the pork ribs, drain off the water and set aside
2. Cut the radish and carrot into small cubes or pieces
3. Put the pork ribs, radishes, carrots and 1 liters of water into a pot and bring to boil.
4. Turn the flame to low and continue to cook for 1hr.

Note:
Above cooking time is based on using Tefal WiKook.

It take about 2-3 hrs cooking time with normal pot to achieve the same taste. But if you don't have the time, just add a bit of salt to taste.


Friday, December 21, 2012

汤圆 Tang Yuan Glutinous Rice Ball

 
I was wake up by my Whatsapp this morning, it was a message from my brother-in-law wishing me Happy DongZhi. So today is DongZhi, i didn't even know. My mummy did not mention about it when i called her last night. OK i decided to dragged myself out of bed so that i can prepared the Tang Yuan for my love one.
 
I start searching for the recipe in my blog but i can't find. I remember i did cook last year and also take photo to upload to my blog. Seriously i really can't find. So now i have to redo it again. That's the problem with me, i write all these recipes so that i can find it online whenever i need it, BUT sometimes really lazy and forgotten about it after eating.
 
 
Ingredient
 
For the Balls
  • 1 cup of glutinuous rice flour
  • 1/2 cup of water
  • A few drops of red coloring
For the Soup
  • A few slices of ginger
  • 1000ml of water
  • 1/2 cup of sugar (add according to your preference)
  • Pandan leaves ( i don't have so i still it out)
 
Method
  1. Place the glutinuous rice flour into a big bowl. Add 1/4 of the water and start kneating. Continous and repeat the process until all the water is mixed. The dough should be smooth and a bit sticky. (Note: if too sticky, add more flour)
  2. Cut the dough into two portion. One portion add in the red coloring. Add just one drop at a time and kneat. Continue adding until you achieve the colour you want.
  3. Now you have one dough of white and one dough of pink. Start rolling them into a long bar. Cut them into small pieces.
  4. Put the small pieces on your palm and roll it into a ball. Place the balls aside.
  5. Boil the 1000ml of water in a pot, and add in the ginger and sugar. Stir until the sugar dissolve. Taste and add in more sugar if you like it to be sweeter.
  6. In another pot, boil a pot of water. Put in the balls and cook until it floated on the surface.
  7. Now, put our cooked balls into a bowl and pour in the sweet broth. Serve.
     

Wednesday, August 08, 2012

Strawberry Salad with Caviar

Here is my little idea to make more fanciful salad for your love one. To make my hubby eat more vegetable, i will try to make my salad look nice. I use different cups or nice bowls to decorate the salad. And of course, i will try to eat different items like fruits and raisins to give a sweet taste. Most of the times, i used clear glasses so that the different layers can be seen.

This time i put a layer of strawberry, a thick layer of lettuces, top with garlic bread and caviar. Is real yummy.

Ingredient (3 servings)
  • 10 strawberries (you can replace with other fruits)
  • 8-10 lettuces leaves
  • 1/2 onion
  • 10-15 cubes garlic bread
  • 1 teaspoon of caviar
  • 1 Tbsp Mayonnaise
  • 1 tsp vinegar
  • 1 tsp olive oil
  • Optional: Raisins and Hard-boiled egg (cut into smaller cubes)

Method
  1. Cut strawberries into small pieces.
  2. Cut lettuces leaves into smaller pieces.
  3. Cut onion into thin slices.
  4. Mix lettuces and onion with mayonnaise, vinegar and olive oil in a big salad bowl.
  5. Place the strawberries in the bottom of the glass.
  6. Place the mixed lettuces.
  7. Place the garlic bread cubes
  8. Use a small spoon to place the caviar on top.
  9. Serve.
Remarks: You can add more mayonnaise according to your preference.

Cherry Agar Agar


Spring/Summer is the season for cherry. The cherries are so sweet and cheap during this time. We will go to the supermarket to stock up cheery weekly and enjoy it after each dinner. 

I had made agar agar a few times with two to three layers with coconut milk. I saw my friend posted her layers cheesecake and this inspired me to try out agar agar with cherry.

As this is the first time working with cherries, i find it tough. It's just like a battle. I have to make sure my agar agar is not harden before the cherry is in place. The difficult part is when the cherry keep floating on top of the agar agar and swim here and there. This is due to the air trap in the center of the cherry that make it float to the top. I use a toothpick to poke a few holes in the center of the cherry, hoping that the air can escape but failed. 

After trying a few different methods, i finally found the correct way. I use a chopstick and hold the cherry and push it into the agar agar and slowly turn it to about 45degree angle or more and let the tiny air escape and flow out of the cherry. Once the tiny air bubble is out, it will sink to the base.

Cherry Agar Agar
Ingredient
  • 14g agar agar strips
  • 240g sugar
  • 120g coconut milk
  • 1200ml water
  • pinch of salt
  • red coloring
  • 10 Cherries (Deseed and cut into halves)

Methods
  1. Break the stip of agar agar into smaller pieces and soak it in a container with water for 30 min.
  2. Drain away the water and squeeze out the excess water.
  3. Fill 1200ml of water and bring it to boil. Continue to boil and stir to make sure the strips are melted and no lump left.
  4. Add sugar to the mixture and taste the sweetness. (Reduce the sugar or add more, based on your preference)
  5. Turn off the heat once the sugar melt.
  6. Take out 360ml of the mixture and transfer to a bowl. 
  7. Add 120ml of coconut milk.
  8. Add pinch of salt.
  9. Add a few drop of red coloring. (Add one drop at a time to reach the color you desired)
  10. Mix well. Transfer the mixture to the mould and refrigerate for 3-5 min.
  11. While waiting for the coconut layer to become semi-firm, use the remaining agar agar in the pot to mix with a few drops of red coloring for the top layer.
  12. The coconut should be semi-firm.
  13. Add the remaining of the agar agar mixture on top of the coconut layer.
  14. Use a chopstick and place the cherry into the top agar agar mixture slowly. Tilt the cherry until you see the tiny air bubble escape. (It should sink to the top of the the coconut layer)
  15. Place all the cherry.
  16. Put the mould into the refrigerator for 10minutes and serve.
Remarks: If the agar agar in the pot begin to cool and harden, turn on the fire to heat again.

Friday, April 27, 2012

Chawanmushi

Chawanmushi
I tried this recipe many years back from allrecipes.com. Luckily i did post a comment on it, therefore  after so many years i am still able to trace back. The ingredients are easy but the success rate is not very high every time. It depend on the cup or bowl used and the timing.

I remember the first time when i cooked this, i was a total success because i used a small glass cup for espresso. Then i try using a bigger cup but forgotten to set the timer and it was overcooked like those Chinese steam eggs. Another time when i cooked, i forget to cover it and all the steam fall from the lid and my chawanmushi was flooded..


It has been a long time i cooked this so i decided to do it again with my little minipot with lid. My hubby say it was not bad, it is very soft. I happened to cook chicken soup the night before therefore i was able to use the real chicken stock.

The original recipes is from allrecipes.com, and below is the recipe i modified

Ingredients

2 eggs
235ml chicken stock
1 dash cooking wine
3 drops light soy sauce
2 stick crabmeat
4 small piece of cooked chicken

Method

  1. Beat the eggs lightly and add in the wine, soy sauce and chicken stock.
  2. Place the crabmeat and chicken into the minipot or cup.
  3. Pour the mixture into the minipot until filled
  4. Prepare the steamer. Place the minipot into the steam and reduce the heat to medium.
  5. Cover the steamer and steam for 12 mins.
  6. Serve.


Hot & Sticky Chicken Wings

Hot & Sticky Chicken Wings
This is the second times i had cooked this hot and sticky chicken wings, but during dinner my hubby say "wow looks very tasty.. What is this called". I was like.. Hello my dear this is not the first time i cook this leh.. So i guessed the first time must have not taste so good, but this time confirmed is Good ar.

Ingredients
2 Tbsp tomatoes sauce
2 Tbsp Hoisin sauce
1 tsp Tabasco sauce
3 Tbsp water
2 tsp sugar

Method
  1. Cut the chicken wings and dry it with kitchen towels. 
  2. Season the chicken with salt and grind pepper seeds. Set aside for 1 hr or more
  3. Heat up the frying pan with oil. Cook the chicken wings till the skin turn slightly brown.
  4. Remove all the oil from the pan with kitchen towels. 
  5. Reduce the heat to low and add in the Tomatoes, Hoisin, Tabasco sauce and stir fry awhile.
  6. Add in sugar and water. 
  7. Stir the mixture till it slightly sticky and dry. Toss all the chicken to make sure it is evenly coated.
  8. Serve.


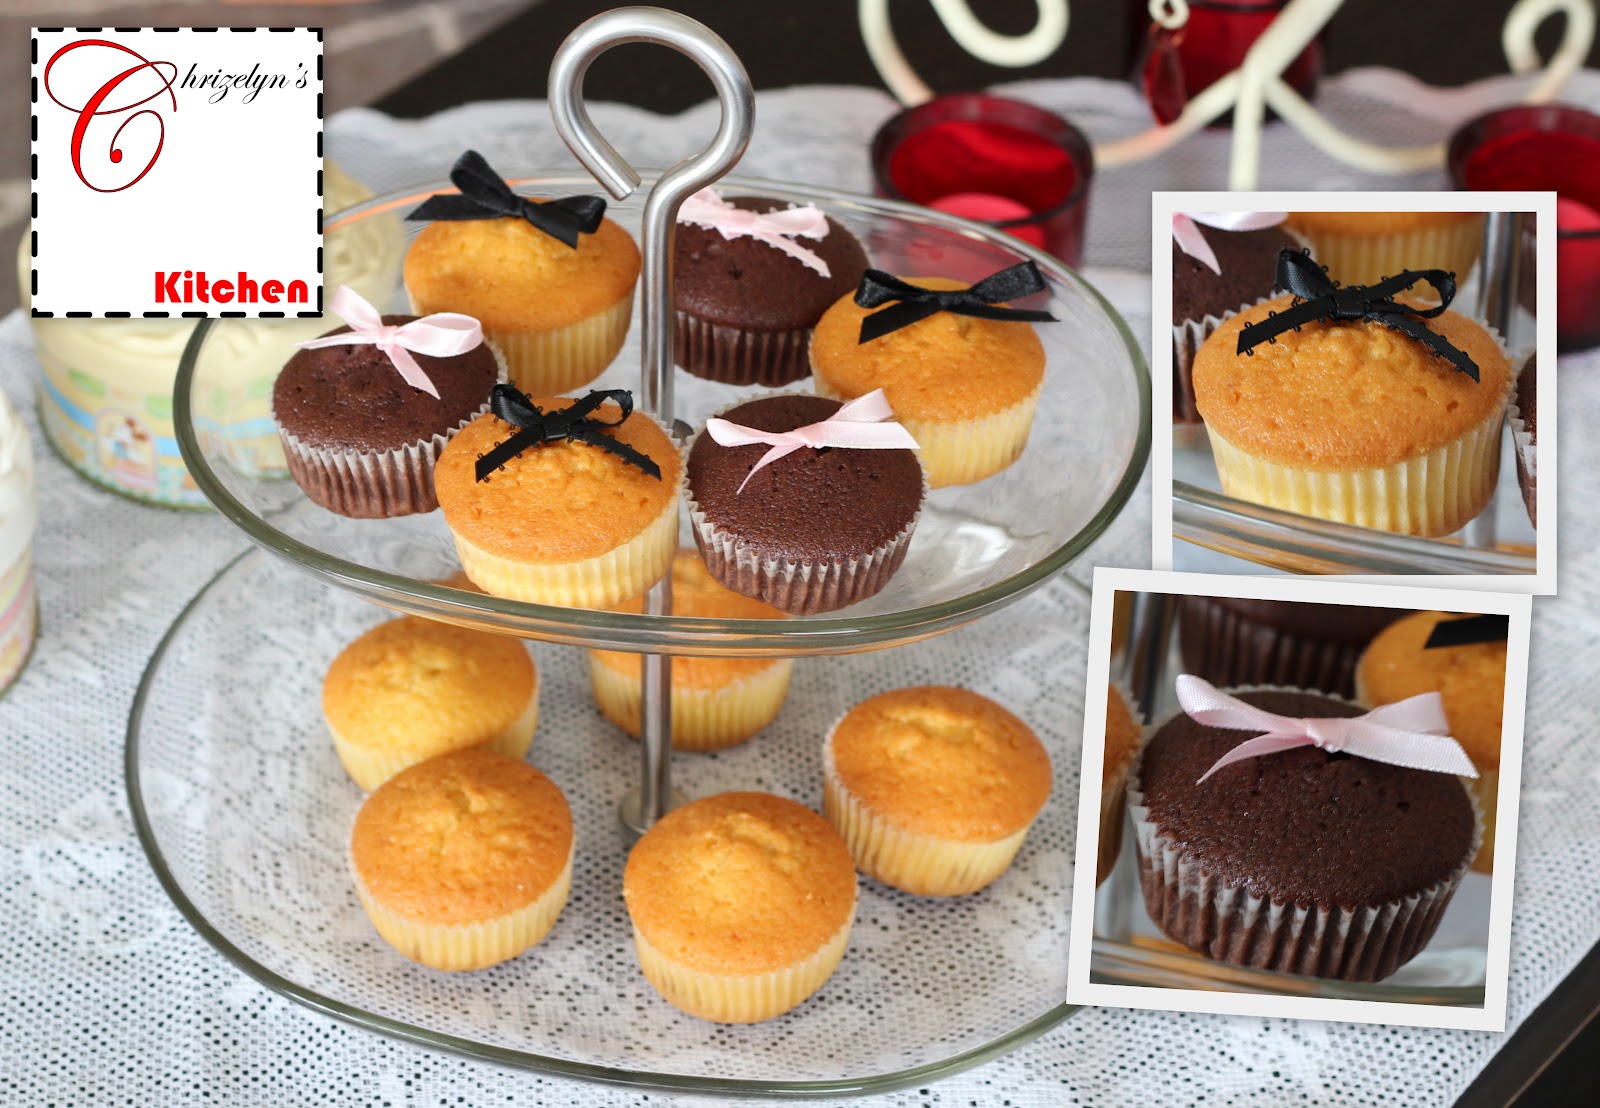
Chocolate Cupcake

I have bake Vanilla Raisin Butter Cake countless of times, therefore yesterday i decided to try something new. I add chocolate to the vanilla raisin butter cake and to my surprise it was equally delicious. 


It was quite easy to bake this. Firstly i used the Vanilla Raisin Butter Cake Recipe, i omit the vanilla extract and add in one tablespoon of hot water with two tablespoon of cocoa powder and stir well then i add in to the cake mixture.

Ingredient
  • 120g butter 
  • 120g sugar
  • 120g self-raising flour
  • 2 large egg
  • 1 Tbsp hot water
  • 2 Tbsp cocoa powder
  • 1 cup raisin (you may increase the amount)
Methods
  • Preheat your oven to 170⁰C. Prepare your cupcake tray and line 12 hole with paper cases.
  • Lightly beat the 2 eggs in a bowl.
  • Sift the flour and set aside
  • Use a mixer to cream the butter and sugar until light and fluffy. (Butter at room temperature)
  • Gradually add eggs with a little flour and beat until smooth. (Divide the egg into 4-5 portions)
  • Pour in the raisins and stir in with a spatula until even.
  • Mix the hot water and cocoa powder in a bowl, mix well.
  • Pour the chocolate mixture into the cake mixture, use a spatula and fold in the mixture until even.
  • Divide the mixture equally and pour into paper cases.
  • Bake for 15-20 min until golden brown.


Afternoon Tea


Afternoon Tea
I was in the supermarket last weekend and wanted to grab some mini-pancake for my breakfast when i was this caviar on the shelve. There are two types, orange and black, and i have no idea which one to buy. I thought i can spread on my pancake with the orange one so i got that. 


In the morning, i bring out whatever in my fridge that can be spread on the pancake and toast bread. And here i start my creativity to display my work. After spreading everything on the pancake and bread, i sit back and enjoy my creation. Different pieces taste differently. There are a few mistake i made, which is too much caviar and salmon spread that make the piece too salty. Other than this, the rest is ok. Is better to put small pieces of cucumber as it give a crunchy bite.


Ingredient used :
Cherry tomatoes
Cucumber
Caviar
Smoked salmon
Cream cheese
Kiri Kiri cube cheese
Garlic spread


Based used:
Mini-pancake
Toast bread